
Contents
The SFC/scannow is a reliable tool, helps Windows 11 repair corrupt or missing files. When your computer behaves weirdly, for example, crashing apps, slowing down, or displaying random errors, this command fixes it. SFC fails to perform in some circumstances. Showing an error or aborting mid-scan. If you’re looking for solutions to SFC /scannow not working on Windows 11, this guide is for you.
Here we will guide you through solutions if SFC/scannow is not working or completing a scan. We’ll cover common error messages, how to use SFC in Safe Mode or during boot, and how to run DISM to repair the system image before retrying. You’ll also learn when to use CHKDSK instead, with a link explaining how CHKDSK, SFC, and DISM fit together.
Part 1. Common SFC Errors and What They Mean
It is necessary to understand the error messages that SFC /scannow may display before exploring possible fixes. Each message gives an important clue about what might be going wrong, such as a permission issue, corrupted system files, or even deeper system damage. Now comes the question, what about the two most frequent SFC errors, and more importantly, what exactly do they mean for your computer?
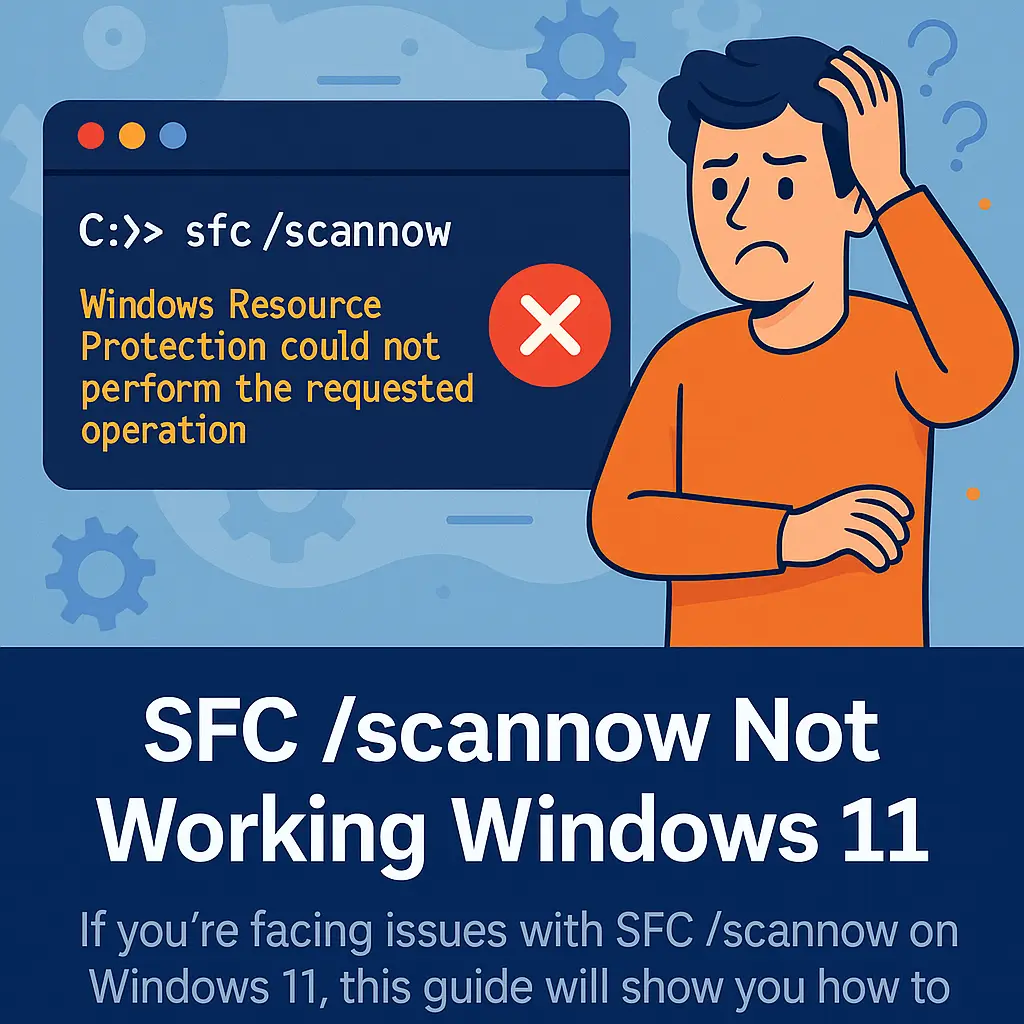
1. “Windows Resource Protection could not perform the requested operation”
This mistake often appears when SFC fails to have access to password-controlled areas of the system. It can also happen when the Volume Shadow Copy service, which is central to file backups and systematic scans, does not work smoothly. Due to these problems, SFC fails at times in normal Windows mode. To prevent the issue, repeat the scan in Safe Mode or at startup with less background software.
2. “Windows Resource Protection found corrupt files but was unable to fix some of them”
This message means that SFC discovered some corrupt files, not all. Problematic situations are usually caused by the fact that the system image that is applied to repair the machine is damaged or incomplete. At this stage, the DISM tool will need to be used to restore the system image. Then run the SFC scan again, and hopefully it should run the repairs and fix your system correctly.
Part 2. Run SFC in Safe Mode or From Boot
As SFC /scannow fails to work in normal mode on the Windows 11 platform, one can solve the problem by boosting a Safe Mode. Safe Mode loads minimal drivers and services and reduces any conflicts that might crash or block files. Scanning in this type of environment enables the process to be smoother and chances of SFC carrying out repairs are increased as compared to normal mode.
How to Boot into Safe Mode:
- Press the Windows + I keys on the keyboard, Settings window will open.
- Go to System, choose the Recovery option from the list of available options.
- Under the Advanced startup section, choose Restart now to allow Windows to reboot.
- After the reboot, select Troubleshoot and then go to Advanced options. From there, choose Startup Settings and click Restart to continue.
- To boot into Safe Mode, press four or F4 on your keyboard.
- After entering Safe Mode, start Command Prompt as administrator. Type: SFC/ scannow.
- Then hit the Enter key and let the scan alone until it is complete.

How to Run SFC from Advanced Startup:
- Hold Shift and click Restart from the Start Menu power options.
- First, select Troubleshoot from the menu that appears on your screen. Next, go to Advanced options and then choose Command Prompt to continue.
- In the Command Prompt window, carefully type SFC/scannow and press Enter.
- Let the scan finish completely and carefully follow all displayed on-screen instructions.
Tip: This method bypasses file locking and is great for more persistent errors.👉 If you want complete information for fixing errors on Windows 11, this guide can help.
Part 3. Use DISM to Repair the System Image
In case SFC fails to run after the attachment of every possible check, it usually indicates that the system image on which SFC operates may be damaged or corrupted. This is where the DISM (Deployment Imaging Service and Management Tool) utility is needed. SM is intended to fix the underlying Windows image that SFC uses.Then it attempts to correctly repair corrupted or missing files by use of SFC.
Steps to Run DISM:
- Use Windows system settings to open the Command Prompt window as an Administrator.

- Enter the following command: DISM /online /cleanup-image /restorehealth.

- Press Enter. The completion of this command can take between 10 and 20 minutes.
- Ensure your computer connects the internet, as DISM may need to download fresh system files.
When the process finishes completely, rerun the command again: SFC/scannow.

These steps often solve even deep-rooted system file issues.
Part 4. Use CHKDSK to Rule Out Drive Issues
Sometimes the SFC does not work due to the fault of hard drives, but not the system files. In case you have errors on disk with bad sectors, or any corruption of the file system, it may prevent the repair.
Run CHKDSK to Check the Disk:
- Launch the Command Prompt application, as an Administrator, with your Windows system tools.

Carefully type the command and then type Enter: chkdsk C: /f /r.

- If prompted to schedule on next reboot, type Y and press Enter.
- Restart your PC. CHKDSK will scan and fix disk errors before Windows loads.
This process may take some time, but it is essential to rule out physical or file system damage.👉 Read our relevant guide on how to run CHKDSK from Boot in Windows 11.
Frequently Asked Questions
Q1. Can I pause the SFC scan once it starts?
It is not good to pause the SFC scan, since leaving it in an inconsistent state, between scan and check, may result in leaving your system in an inconsistent state. Should you need it? You may cancel it by shutting down the Command Prompt, only in case the machine is unresponsive.
Q2. Why does SFC /scannow say it found issues but fixed none?
Typically, this implies that some damaged files were detected by the scan, but the repair source (system image) is corrupted as well. To resolve this, DISM followed by another run of SFC should be run.
Q3. Is it safe to run SFC and DISM regularly?
Both of the tools are not malicious and run safely on your computer. Running these periodically can make the Windows system stable and error-free.
Conclusion
SFC/scannow not working on Windows 11 can be resolved in a few additional steps. Starting with Safe Mode, or even boot-time scanning, and progressing through DISM/CHKDSK takes care of getting to the root cause of the failures. These are some of the ways through which you can regain stability in your system and recover corrupted files without reinstalling Windows.
1 thought on “SFC /scannow Not Working Windows 11? Here’s What to Do”